
Ever wonder why some products stand out on the shelf while others fade away? Often, it’s not the product itself—it’s the packaging. Custom Mylar bags do more than protect your product. They tell your brand story, keep products fresh, and give a premium feel that customers notice right away.
At DINGLI PACK, we help brands create custom Mylar bags that are strong, useful, and look great. Here’s how we usually guide our clients, step by step.
Step 1: Know Your Product and Audience
Before thinking about colors or shapes, ask yourself what your product really needs. Does it need protection from air, moisture, or light?
For example, coffee beans need to stay away from oxygen and light. So the packaging must be airtight and opaque. Bath salts need moisture-proof bags. Otherwise, they may dissolve.
Next, think about your customer. Are they busy parents who want easy-to-open bags? Or premium buyers who like sleek and simple designs? Packaging should fit your customer’s habits. It should be useful and attractive.
Finally, think about budget and timing. Custom bags cost money. Knowing your budget helps decide which features matter most. A glossy finish may be nice, but a simpler design may work too.
Step 2: Pick the Right Material and Bag Style
Not all Mylar bags are the same. Most use PET film, but high-quality bags have multiple layers: PET + aluminum foil + food-safe LLDPE. This makes the bag strong and keeps products safe.
Material choice depends on your product:
- Herbal teas or powders → PET/AL/LLDPE for full protection.
- Cookies or snacks → PET with glossy finish for a premium look.
Bag shape matters too:
- Stand-up pouches for display
- Flat-bottom or side-gusset for stability
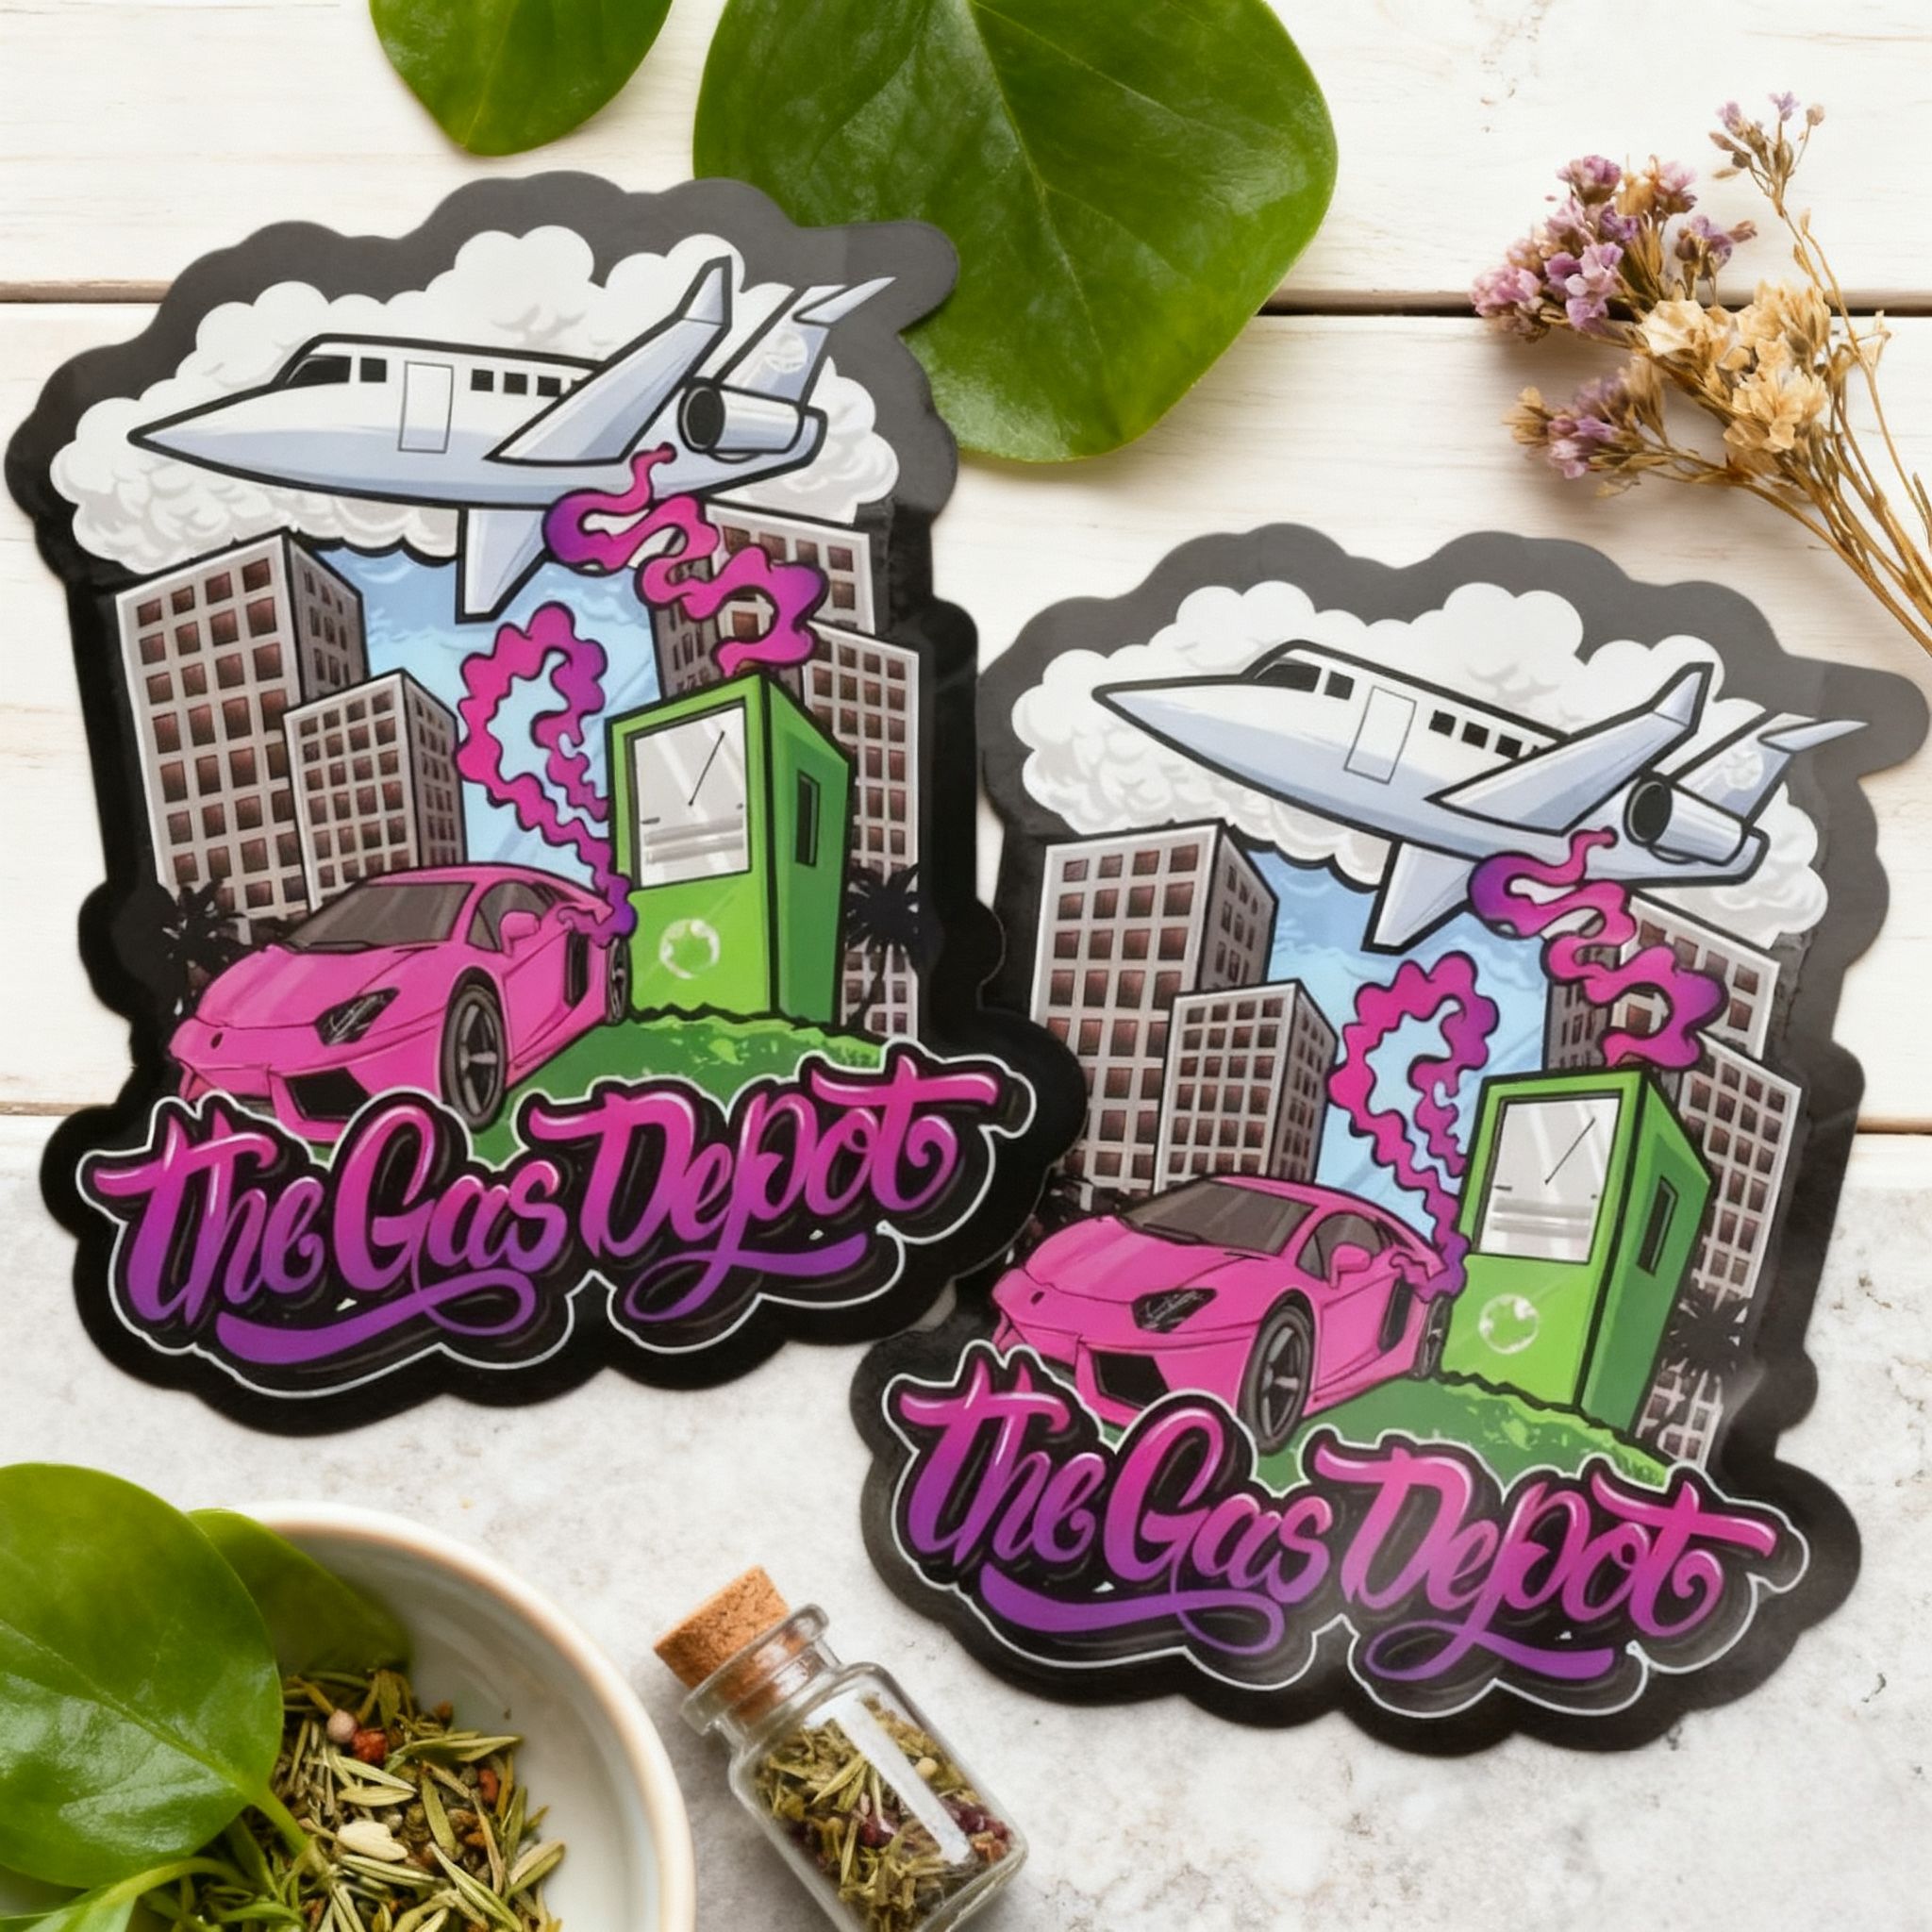
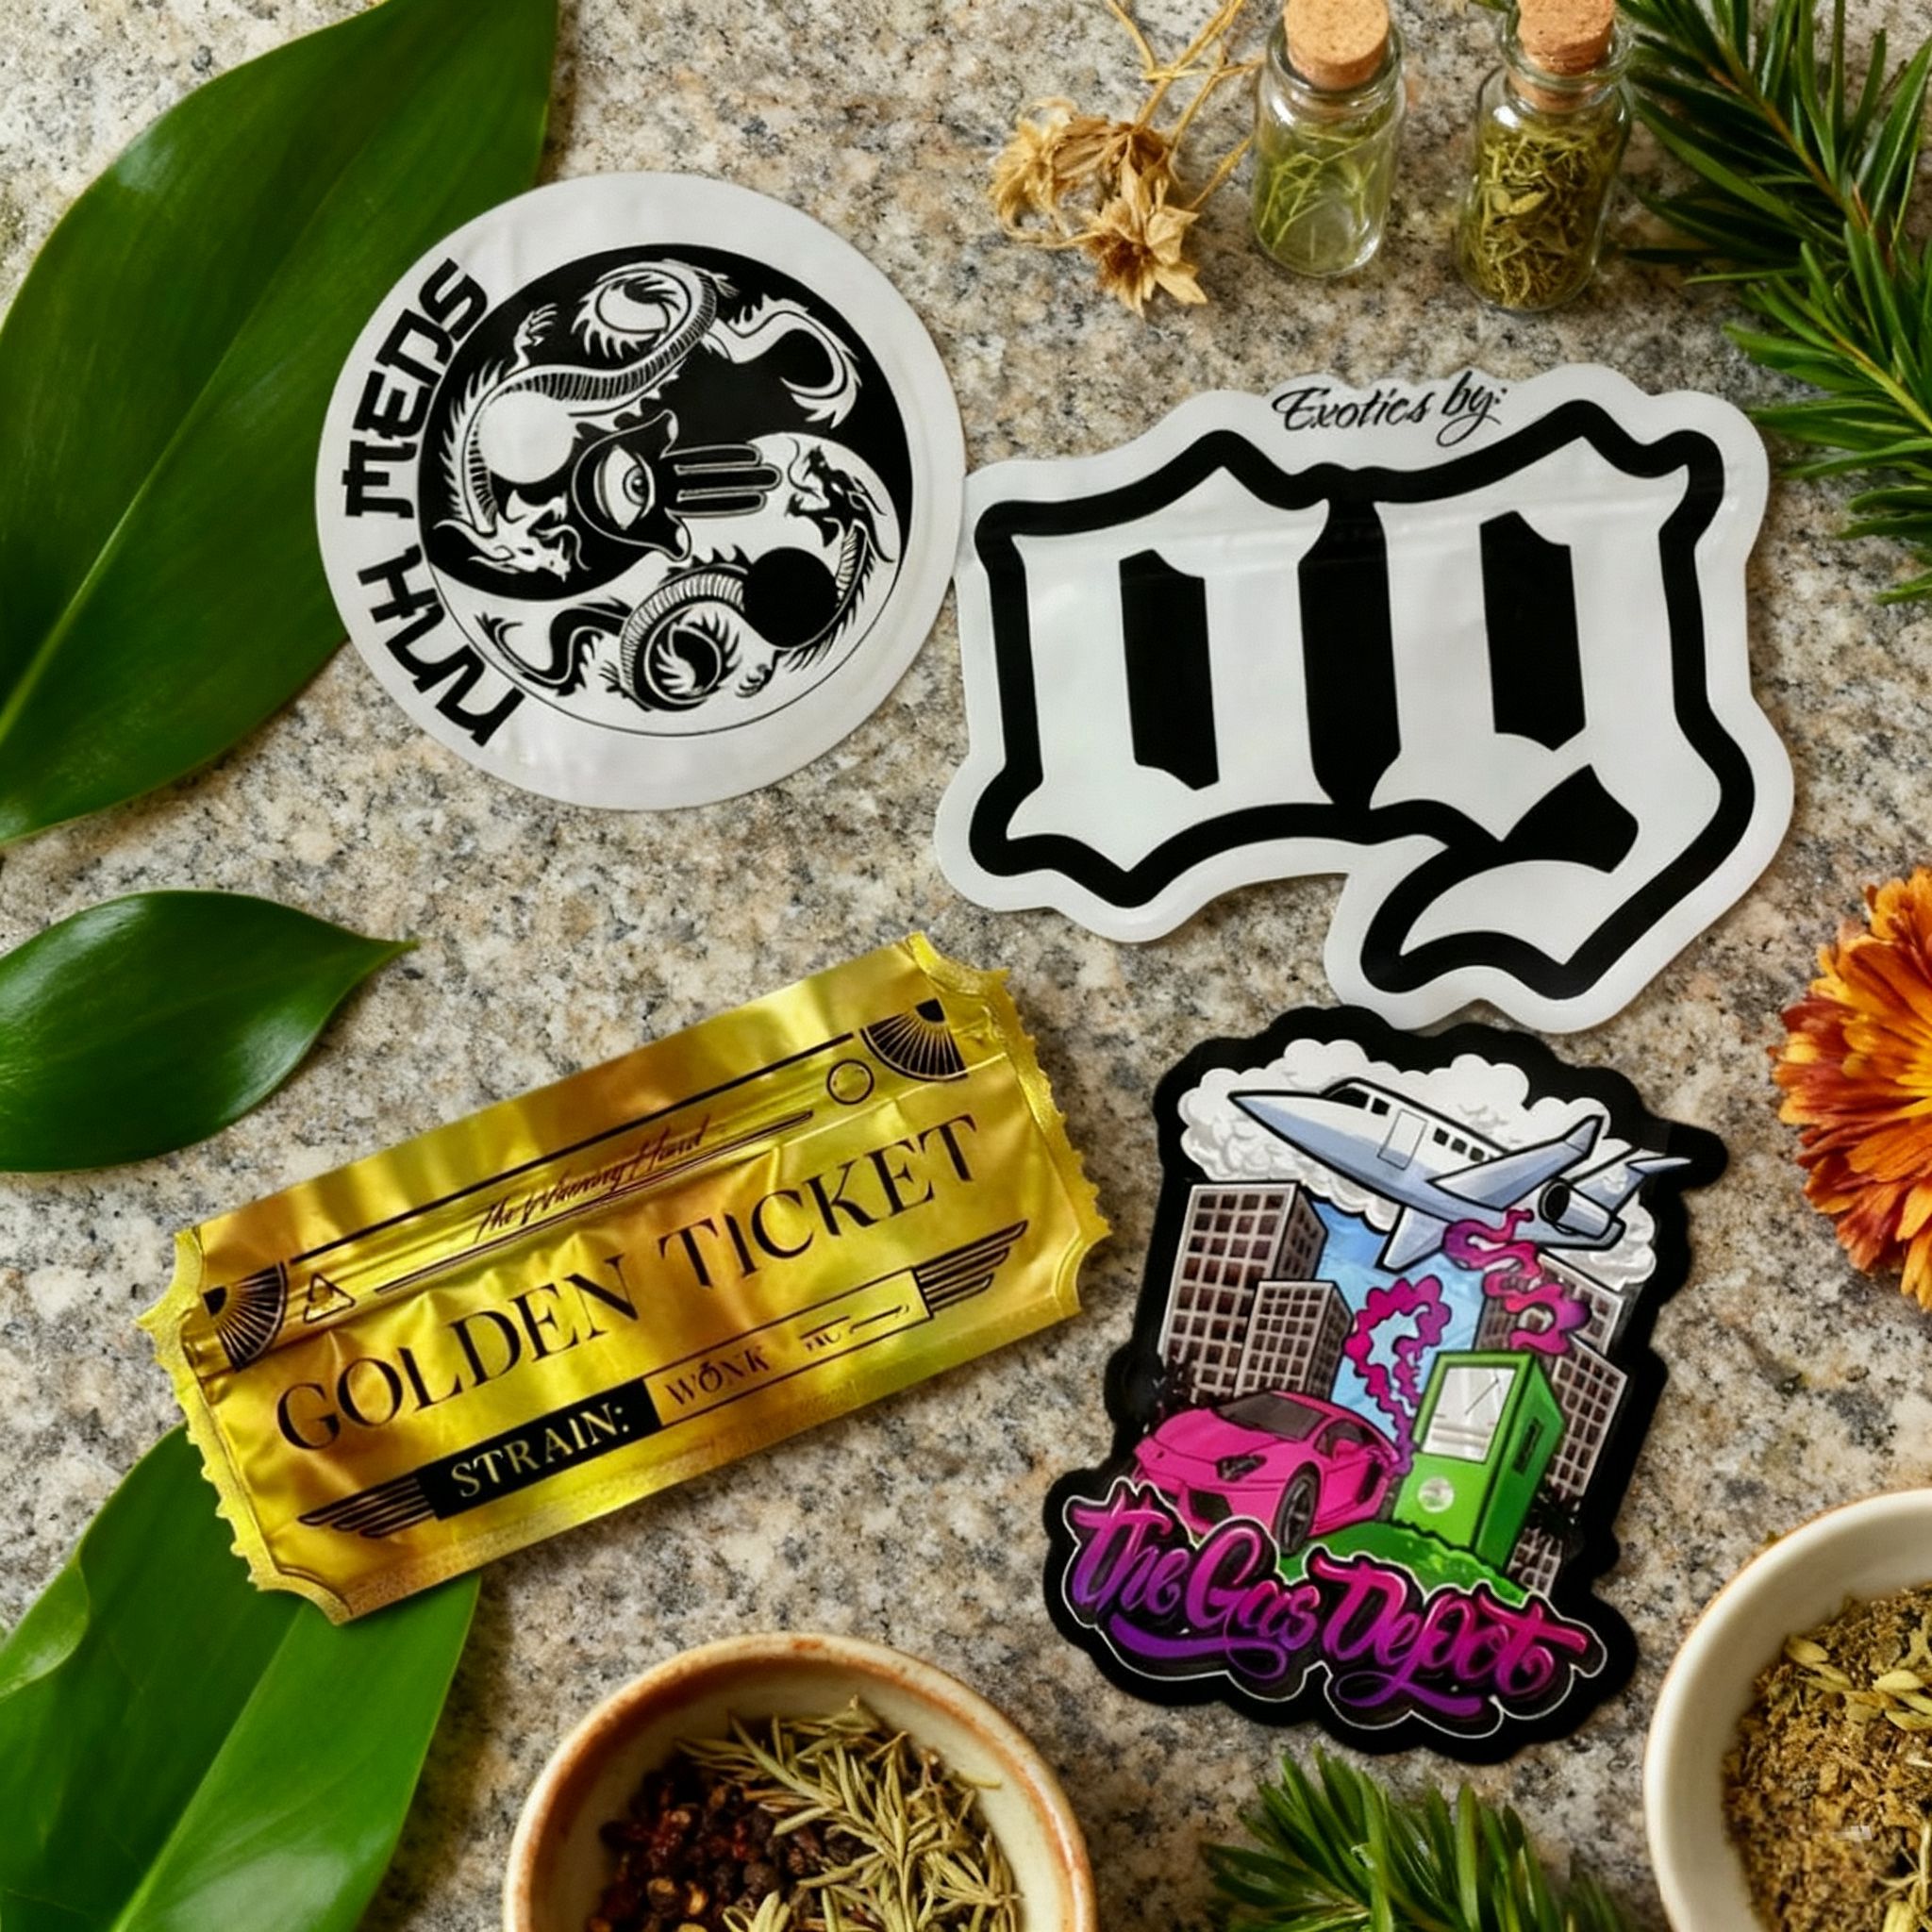
- Die-cut shapes for unique branding
Picking the right material and shape keeps your product safe and attractive.
Step 3: Design Your Brand Story
Packaging is your silent salesperson. Colors, fonts, and images tell a story before the customer opens the bag.
For tropical cookies, bright colors and a fun logo show flavor and personality. For premium teas, soft colors and simple fonts show elegance.
Also, think about function. Zippers, tear notches, or windows make your product easy to use. At DINGLI PACK, we make sure design and function work together.
Step 4: Printing and Production
After the design is ready, it’s time to print. Mylar bags use digital or gravure printing:
- Digital printing → good for small batches or testing new products
- Gravure printing → good for large batches and consistent colors
Then, the layers are laminated and formed into bags. Features like zippers or windows are added. (See all our Mylar bags)
Step 5: Test Samples
p>Nothing beats trying a real sample. Test the bags by:
- Filling them to check fit and seal
- Feeling the texture and checking colors
- Doing drop and puncture tests
Customer feedback helps. A small change, like a zipper tweak or color adjustment, can make a big difference before full production.
Step 6: Quality Checks
When everything is approved, we make the full batch. Quality control is important:
- Check raw materials
- Inspect print during production
- Test lamination and seals
- Check final bags for size, color, and features
At DINGLI PACK, we make sure every bag meets your standards.
Step 7: Delivery
Finally, we ship the bags to your warehouse. Bulk shipments, just-in-time delivery, or special packing—we handle it. Our goal is to make sure your custom Mylar bags arrive safe, ready to impress, and on time.
Custom Mylar bags are more than packaging—they show your brand. At DINGLI PACK, we mix expertise, technology, and creativity to help brands succeed. Ready to improve your packaging? Contact us today and let’s make something your customers will love.


Post time: Nov-10-2025